|
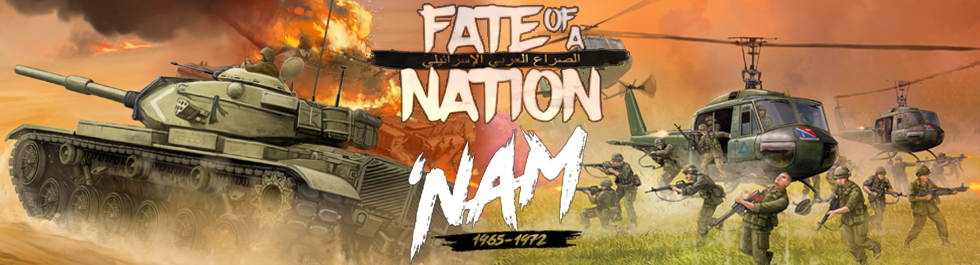
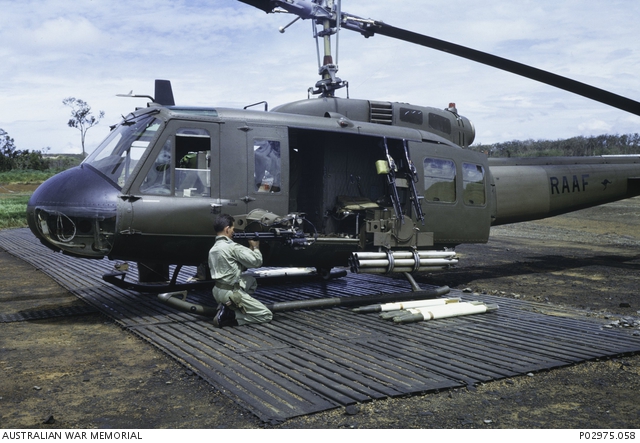
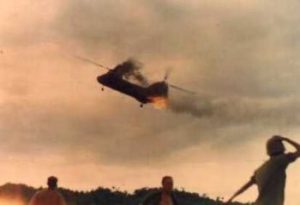
With Mike Haught. Vietnam. In a small corner of the world, one of the most bloody wars to be fought occurred in this small country in Southeast Asia. Traditionally framed as a war of small skirmishes, long patrols, and guerilla ambushes, there is a lot more that happened such as full-scale offensives and pitched battles.The US and its allies have all the advantages of mobility and firepower. The ubiquitous Huey helicopter has become a symbol the war itself as it carries troops into battle and unloads fire on the enemy. Heavily armed flotillas sail up the windy Mekong Delta, heavy tanks and M113 ‘tracks’ bash their way through the jungle searching for enemy strongpoints, and resolute ‘grunts’ hold firebases against fierce enemy assaults… Meanwhile, the Nationalists have all the advantages of the home team. They fight as guerillas, choosing the time and place of major operations or surprise attacks and appearing from nowhere to ambush enemy hunting them. When the time is right, they even commit their tanks, armoured personnel carriers, and seasoned troops into the fray to achieve total victory. |
|
‘Nam gives you have everything* you need to take command of one of these forces. Building on the success of Battlefront’s Team Yankee, these rules and forces are easy to learn and use. Within these pages you can find all of the scenarios, missions, and notes on terrain to fully brief you before you step onto your Huey to lead your troops to the landing zone! (Well, almost everything. A groovy playlist of 1960s and 70s tunes is compulsory for maximum playability.) |
| About The Book ‘Nam! is a one-stop shop for all of your Vietnam battles on the tabletop. It includes a complete rules set, missions, and a comprehensive list of American, South Vietnamese, North Vietnamese, and ANZAC forces to play. ‘Nam! includes a whole new set of rules based on the successful Team Yankee system. This gives you a streamlined set of rules and missions so you should be getting into the jungle a lot faster than ever before. There are also updated missions as well, keeping all of the flavour of the old Vietnam missions and streamlining the mission rules for fast-paced and exciting games.If you’re a seasoned Vietnam gamer, you’ll find all of your forces are here in the book as well as some new ones, such as the USMC and elite North Vietnamese sappers. So let’s start there and dive in to take a look at what’s new, what’s different, and how to properly play a Vietnam game. |
 |
 |
What’s New? One of the highly anticipated forces in ‘Nam! are the US Marines. The Marines occupied the northern border of South Vietnam along the demilitarised zone. They were in constant contact with North Vietnamese forces during their entire stay in country, engaged in epic sieges, gruelling patrols, and fierce combat actions. In the book you’ll find a US Marine Rifle Company and a Marine Tank Company. The Marines have an unrivalled esprit-de-corps and this is reflected in the unit cards, giving them high morale and excellent combat ability. They have some interesting equipment as well, such as the enormous LVTP-5 amphibious transport. |
| Descended from the ole LVPs from WWII, this beast was designed to carry an entire platoon of marines in two vehicles, unlike the M113 which would typically carry a half dozen troops. To put that into game terms, the platoon’s transports are carrying 5 to 7 teams each! |
| The Marines were backed by the first batch of M48 Patton tanks to arrive in the country in 1967. The Marine tanks saw lot of action in Vietnam, often accompanying patrols on missions up to the demilitarised zone. In addition to these gun tanks, they also had the only M48 flame tanks in country, equipped with a flamethrower instead of a main gun. These were useful for reducing bunkers and clearing brush away for the patrols.
The Marines really, really loved their 106mm recoilless rifles. So much so that they had one of the oddest vehicles in country, the bizarre M50 Ontos. The Ontos was a small fully-tracked armoured vehicle that carried no less than six 106 millimetre recoilless guns! Originally built as a tank destroyer, the Ontos was frequently used in Vietnam as a bunker buster or an infantry support gun. You can take several platoons of these little devils in your Marine formations. |
 |
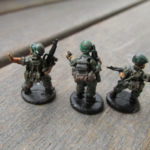
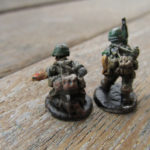
| The second most requested force for Vietnam has been the North Vietnamese Special Tasks Battalion also famously known as sappers. These troops often led the assaults on major Free World firebases, silently sneaking into positions just prior to the battle and clearing a patch for the follow up assault forces. This gives the nationalists an elite force of their own, highly skilled and motivated to complete the mission before them. Unlike the other typical Nationalist forces they’re small units but they hit very hard. |
|
|
|
The book also extends the game’s timeline somewhat into 1975, when the last battles were fought between the south and the north Vietnamese. This allows players to field some new South Vietnamese formations such as M48 heavy tanks that they got from the Americans after the withdrawal in 1973. We’ve also included South Vietnamese marines to the Riverine forces which were highly regarded by their US comrades during the ‘vietnamization’ of the Mobile Riverine Force in 1968/69. |

| What About My Old Armies For all of us old salts, our forces from previous tours are totally compatible with the new book. In fact there are probably new ways to feel your old forces if you wanted to try something new with something old. |
| Total Immersion One final note from the designer… Vietnam has the best soundtrack of any period in wargaming. To that end, ‘Nam! was designed to be experienced with groovy tunes playing in the background. While somewhat optional, you’ll be missing out if you don’t have a playlist of groovy tunes from the 1960s and 70s playing in the background. To help with that, in the history section of the book, I’ve included Billboard’s top 10 for each of the war years. This should help you assemble an appropriate soundtrack for your game. If you’re a Spotify user, I’ve made a list that has 6hrs of Nam-tastic groovy tunes that you can spin up on game day. Enjoy! ~Mike |
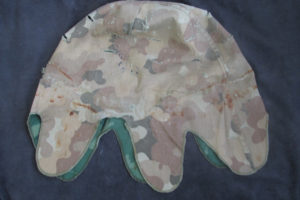
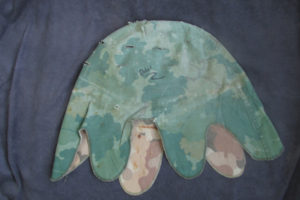
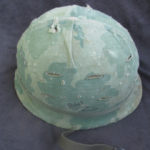
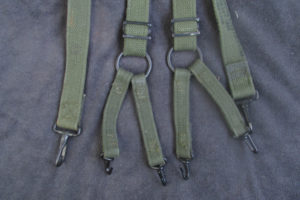
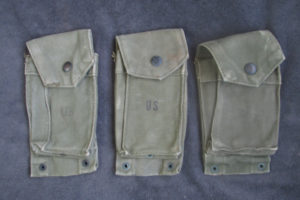
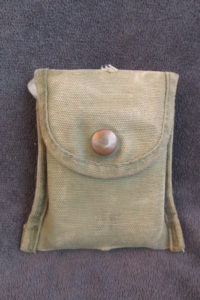
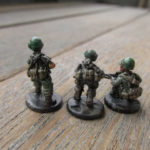
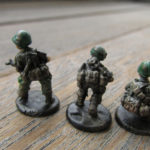
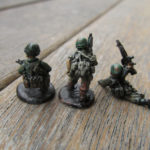
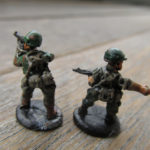
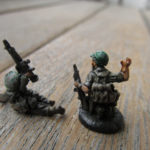
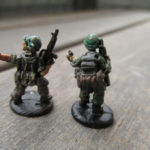

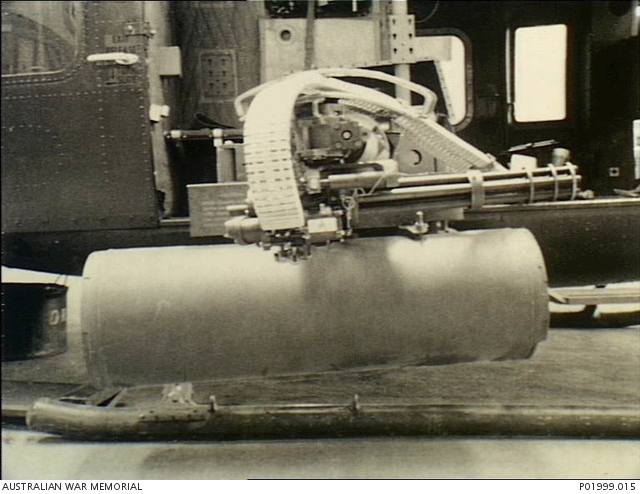
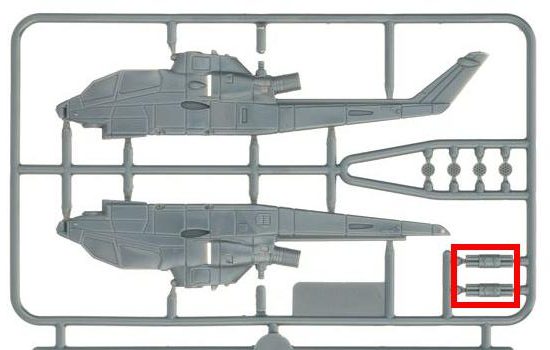
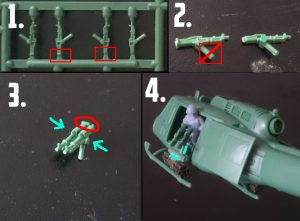
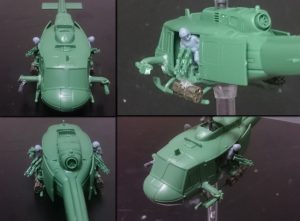
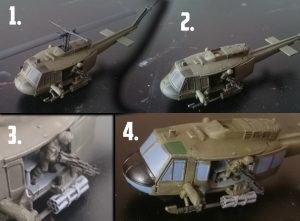
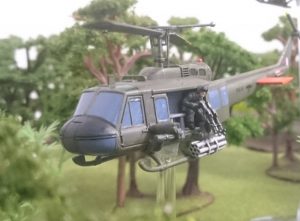
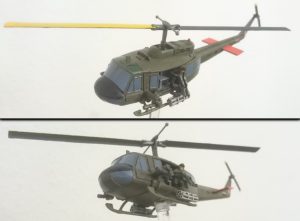
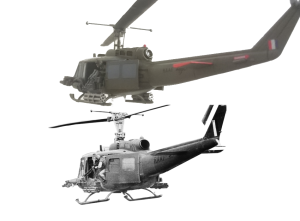
 Special thanks to Battlefront and my friend Emanuel, who sponsored the parts I lacked for this conversion!
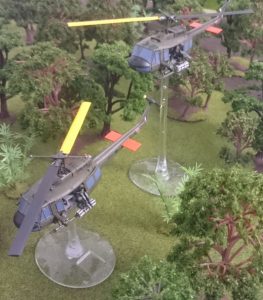
 The People’s Army of Vietnam viewed the area around Saigon as critical to winning the Vietnam War. Their B2 Front commanded the North Vietnamese forces in and around Saigon and the Mekong Delta. The battles there were tough and hard fought. Both sides made major offensives like the American Operation Cedar Falls and the North Vietnamese Tet offensive, but neither side was able to decisively beat the other in combat. In the end it was the North Vietnamese willingness to take casualties and keep fighting that won the war for them after the United States finally withdrew from Vietnam after seven long year.
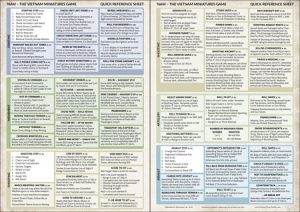 We’ve had a bunch of people asking for downloads of a Quick Reference sheet and the Victory Points Sheet for ‘Nam so we have put up PDF versions for you to download and print off. Simply right click the links and save as and you’ll be ready to slug it out in your next ‘Nam game in no time. Head to the link below to find both links
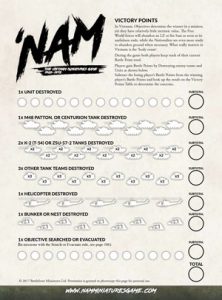
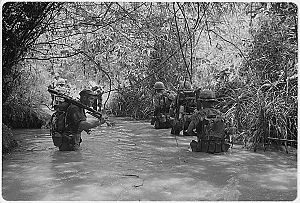
 By May of 1966, an ad hoc demilitarized zone (DMZ) had been established dividing North and South Vietnam. This did not stop a company-sized force of reconnaissance soldiers from PAVN Division 324B from slipping across the DMZ in the early morning of 17 May. Their mission was to act as scouts for the ten-thousand strong division as it readied for an advance into Quang Tri province, at the time part of South Vietnam and defended by the 1st Division of the Army of the Republic of Vietnam’s (ARVN) I Corps. An ongoing conflict between Buddhists and government forces in the South that paralyzed military forces in the province convinced Division 324B’s commander, General Nguyen Vang, that the time had come to strike. In order to set the conditions for a successful advance, VC units local to Quang Tri had been contracted to establish stores of food and ammunition around the province. When his reconnaissance elements arrived, General Vang learned that the supply caches were few and far between. With Division 324B poised on the border, the attack was held up by a matter of weeks to allow food to be requisitioned from North Vietnam.
 OAs the North Vietnamese held just shy of the DMZ, American and South Vietnamese elements monitored and speculated on their intentions. While the logic of a large-scale assault into Quang Tri was acknowledged, General William Westmoreland, then commander of Military Assistance Command, Vietnam (MACV), demanded a better picture of the North’s actions and intentions, and, in his words, “…there was no better way to get at it than by sending in reconnaissance elements in force.” There were also concerns at tactical levels about the feasibility of PAVN logistical support to a division-sized offensive and theories that the 324B’s build-up may be a feint designed to vex Quang Tri-based ARVN and US Marine forces. On the evening of 1 July, a small Marine reconnaissance force was sent to observe suspected enemy locations a few miles south of the DMZ. After coming into contact almost immediately upon arrival, the Marines received air support from A-4 Skyhawks and UH-1C Heavy Hogs, allowing them to escape. Further reconnaissance of the area confirmed large masses of soldiers, as well as a host of fortifications. The 324B had entered South Vietnam.
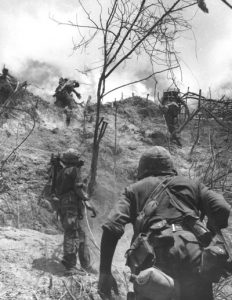
 In response, MACV and the local Marine commanders quickly created and launched Operation Hastings on the 7th of July. It was designed to locate, engage and push PAVN forces back across the DMZ. The operation would be the largest in Marine Corps history at the time and included the mobilization of over 8000 Marines and 3000 ARVN soldiers, supported by a wide array of artillery, naval gunfire, air, and aviation support. Task Force Delta, the task force executing Operation Hastings, would be led by then Brigadier General (later General) Lowell English, at the time Assistant Division Commander of 3rd Marine Division and would see four Marine infantry battalions and one Marine artillery battalion under his command. These Marines would advance across a series of mountains, foothills and jungle, ending in the shadow of The Rockpile, a large and solitary hill dominating the plateau north of the Cam Lo River. Aggressively taking The Rockpile, as well as trailheads leading from Quang Tri across the DMZ into North Vietnam, were deemed the highest priority objectives, in order to quickly and assertively weaken the grip of PAVN forces on the area and set the conditions for American forces to maintain momentum and push them back across the DMZ.
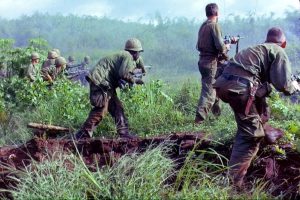 Despite the dark beginning, upon reaching the ground Marines immediately began executing both the task to take The Rockpile and to deny enemy movement through the trail-heads. Movement through the low-ground of Helicopter Valley towards the trail-heads was fairly quick, but those moving to take The Rockpile were hampered by dense, wet vegetation, and progress slowed. Meanwhile, by that evening Marines from the force moving through Helicopter Valley had been surrounded by PAVN forces, and were forced to employed artillery and fast air fires to drive the aggressors off. To reinforce this beleaguered force, the movement to The Rockpile was abandoned and those Marines moved to aid their comrades. By that night, both groups were under fierce PAVN attack, and fighting devolved in some cases to hand-to-hand combat. Despite this, the Marines again held their ground and pushed the North Vietnamese back, inflicting significant casualties in the process.
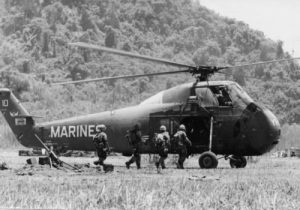 To compensate for their casualties and delayed progress, another battalion of Marines was deployed, while a reconnaissance force was inserted onto the top of The Rockpile. This capability proved invaluable, supporting surrounding allied efforts by reporting artillery targets throughout the battle. With this support firmly established, the Marines were able to consolidate their forces and establish a blocking line and an assault force, and began moving towards their new objectives on the afternoon of 18 July. As the Marines attempted to bring the fight to the enemy it was instead the PAVN who brought the fight to them, attacking the rearguard which had been left behind to destroy the CH-46s that had been downed in the previous days. Faced with around 1000 charging PAVN soldiers, the Marines held the line, but not before they took around 50 casualties. After having finally driven off the assault through the use of danger-close conventional and napalm airstrikes, the Company was able to withdraw, with both their Officer Commanding and First Platoon Commander being awarded Medals of Honor. The main Marine force was recalled and set up another block to turn back the large PAVN force.
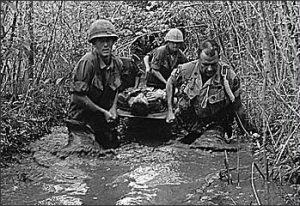 The following week saw many smaller engagements, generally initiated by PAVN forces, and often following procedure first involving artillery and mortar strikes, followed by a fierce assault, then withdrawal. While this frustrated some American commanders, the casualty count was overwhelmingly in their favor. By the end of the month, the bulk of Task Force Delta would be withdrawn from the Area of Operations, predominantly due to poor terrain for helicopter insertions. However, reconnaissance patrols would continue to operate in the region, and the outpost at The Rockpile would continue to be an important artillery observation post. By 3 August, patrols found that the 324B Division had seemingly retreated back across the DMZ, and Operation Hastings was officially brought to an end. Despite at times heavy losses, the Operation proved a tactical, operational, and strategic success for the United States, and was instrumental in the adoption of several new tactics and techniques.