") |
Contains nine plastic T-54 Tanks, two ZSU-57-2 Tanks and one decal sheet.
Maoist doctrine calls for three phases in a revolutionary war. In the first phase, the revolutionaries gain the support of the population. In the second phase, guerrilla forces attack military and other vital targets. In the third phase, the revolutionary forces switch to conventional warfare, defeating the military, seizing cities, and taking control of the country. By 1971, with the ‘Vietnamisation’ of the war and the withdrawal of Free World forces, the Nationalists believed that the time had come for the third phase. They started forming large conventional forces including armour and artillery and conducting combined-arms operations. |
") |
|
| T-54 Tank (plastic) (x9) |
") |
") |
") |
") |
| ZSU-57-2 (x2) |
") |
") |
|
|
") |
") |
") |
") |
") |
") |
|
|
|
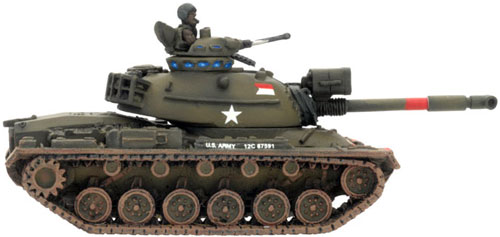
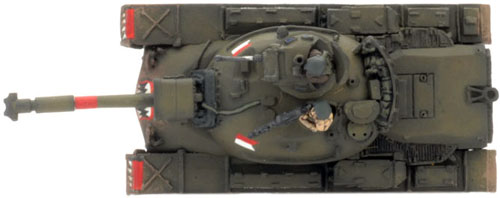
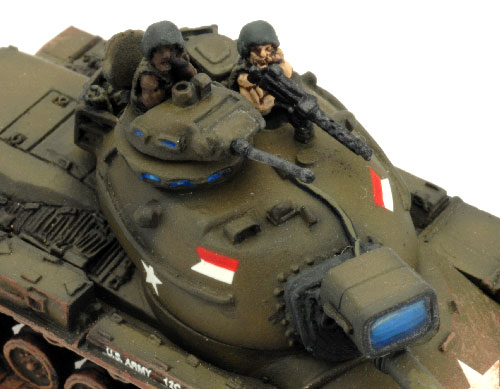
| The K-2 Ironclad Battalion In ‘Nam | |
") |
") |
|
|
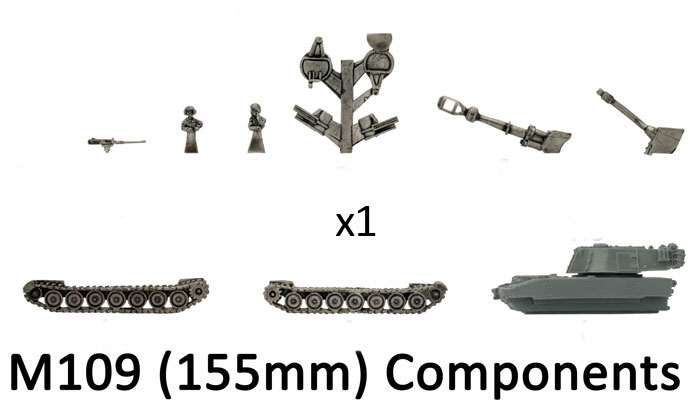
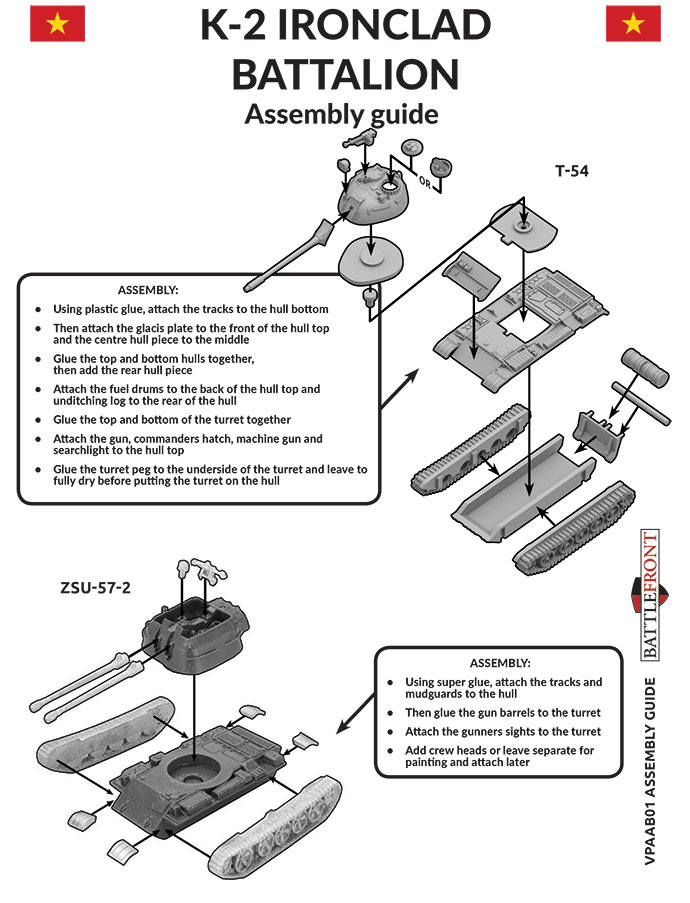
| Assembling The K-2 Ironclad Battalion In ‘Nam |
|
")
")

")
")
")


")
")
")
")
")
")
")
")
")
")
")
")
")
")
")
")
")
")
")
")
")
")
")
")
")
")
")
")
")
")
")


")
")
")
")
")
")
")
")
")
")
")
")
")
")
")
")
")


")

")
 (VUSBX08)")
 (VUSBX08)")
 (VUSBX08)")
 (VUSBX08)")
 (VUSBX08)")
 (VUSBX08)")
 (VUSBX08)")
 (VUSBX08)")
 (VUSBX08)")
 (VUSBX08)")
 (VUSBX08)")
 (VUSBX08)")
 (VUSBX08)")
 (VUSBX08)")
 (VUSBX08)")
 (VUSBX08)")
 (VUSBX08)")
 (VUSBX08)")
 (VUSBX08)")
 (VUSBX08)")
 (VUSBX08)")
 (VUSBX08)")
 (VUSBX08)")
 (VUSBX08)")
 (VUSBX08)")
 (VUSBX08)")
 (VUSBX08)")
 (VUSBX08)")
")
")
")
")
")
")
")
")
")
")