") |
Contains seven plastic M113 Armored Personnel Carriers, three M551 Sheridan Tanks, one M48 Patton Tank and two Decal Sheets.
The 11th Armored Cavalry, known as the ‘Blackhorse’ Regiment, developed radically new tactics to combat an elusive and determined enemy. Conventional wisdom asserted that armour had little to no role to play in the jungles, deltas, and rough terrain of Vietnam. The Blackhorse Regiment proved conventional wisdom wrong. The regiment’s unofficial motto, ‘Find the bastards, then pile on’, embodied their tactics for a highly mobile and heavily armed combined-arms force to seek out and destroy an unconventional enemy. Check out the Black Horse Armored Cavalry Troop in the Online Store… |
| As American involvement in the Vietnam War increased, there was a need for additional combat formations. In March 1966 the 11th Armored Cavalry Regiment was ordered to Vietnam. In preparation, the regiment made a series of modifications to their equipment and organization to better fight a guerrilla war. Feedback from Vietnamese Armoured Cavalry Regiments suggested that neither the jeeps nor the M114 reconnaissance carriers that Blackhorse had were of much use in Vietnam. Both were replaced with the larger, more mobile and better-protected M113 armoured personnel carrier (APC). | |
") |
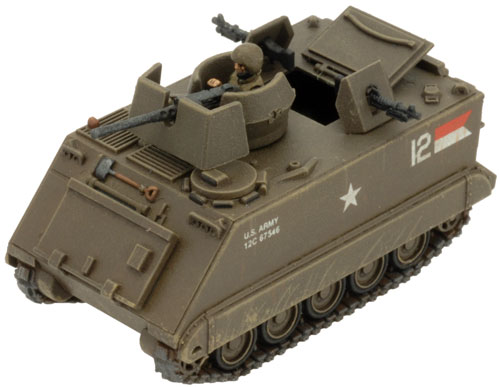
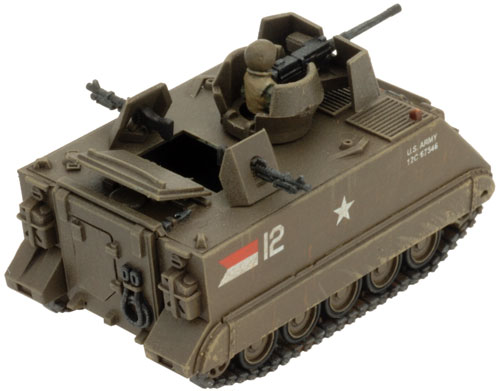
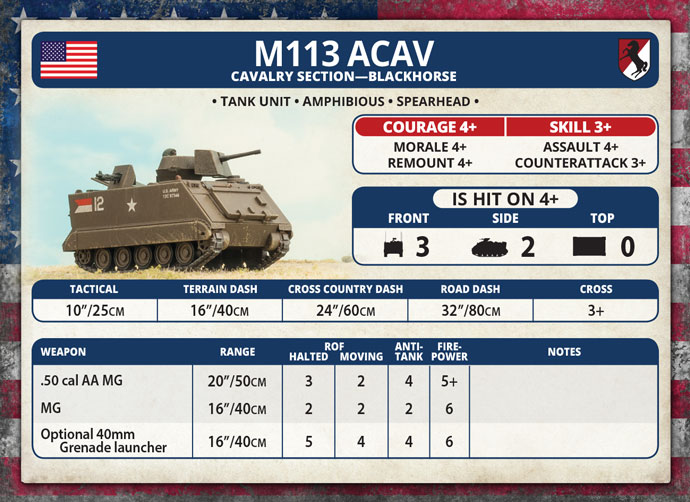
| M113 Armored Personnel Carriers (x7) |
 |
 |
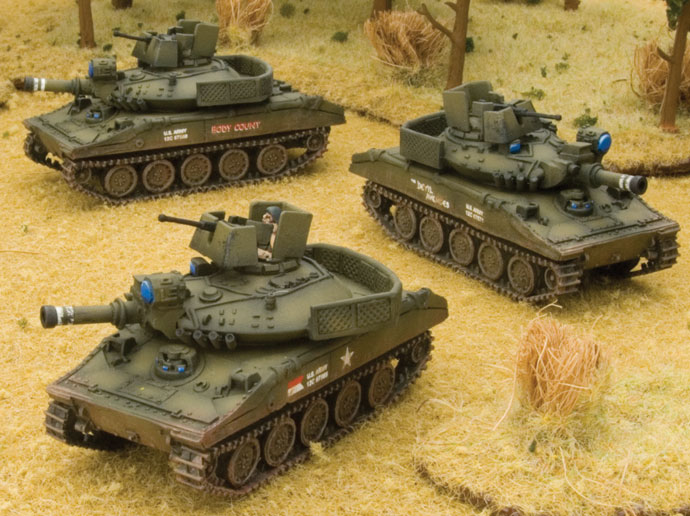
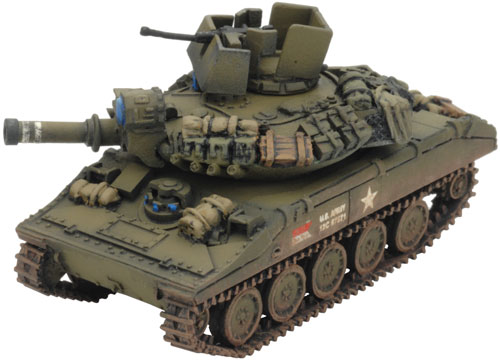
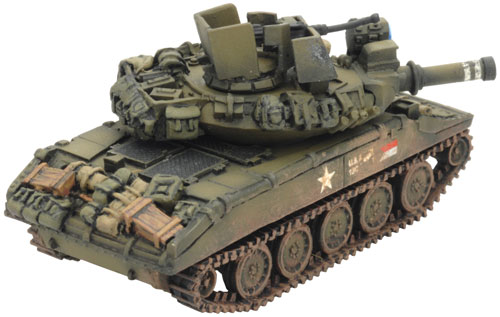
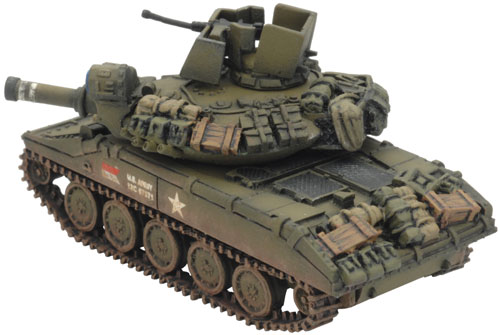
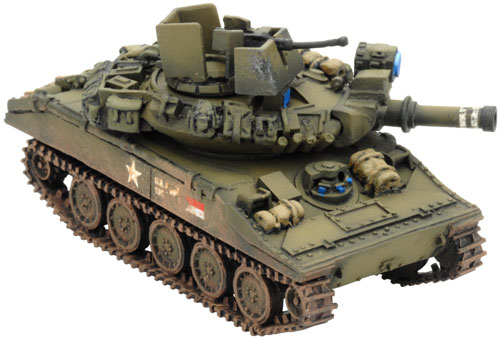
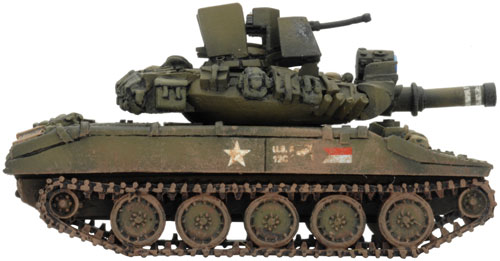
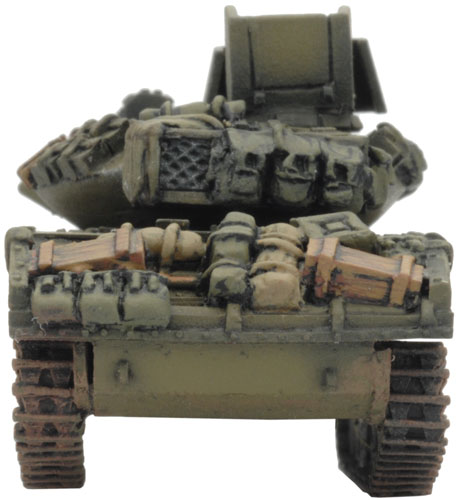
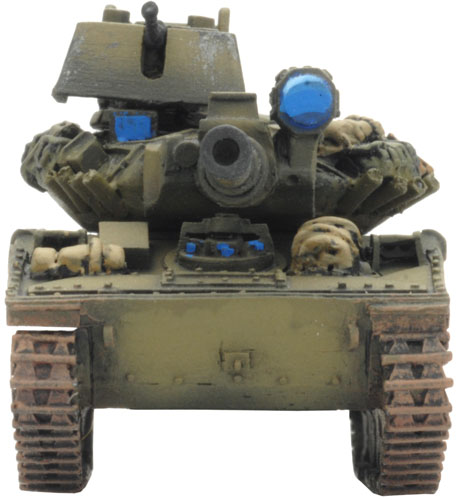
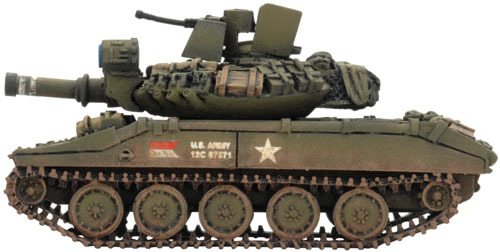
| M551 Sheridan (x3) |
 |
 |
 |
 |
 |
 |
 |
 |
 |
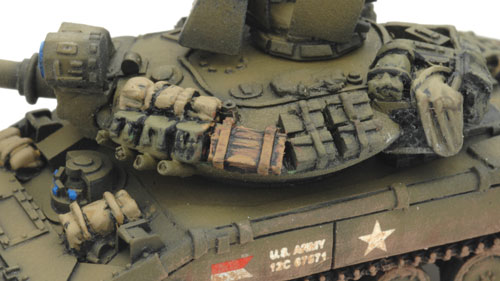 |
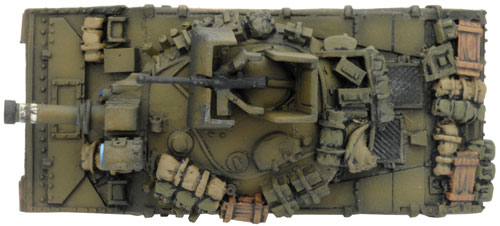
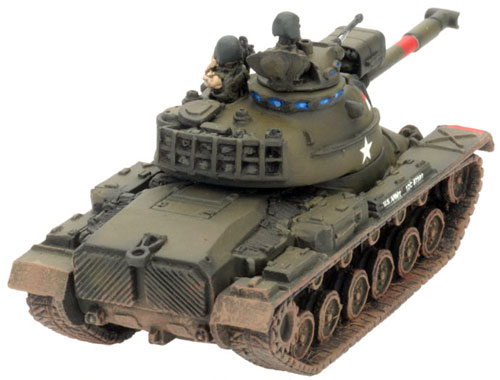
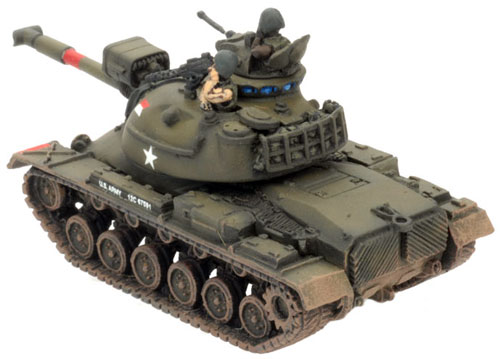
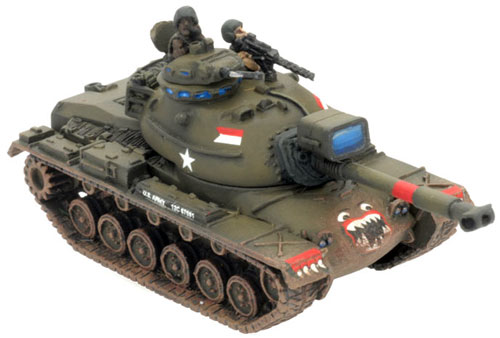
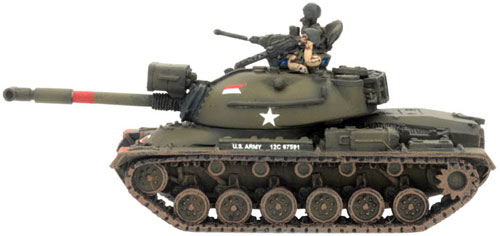
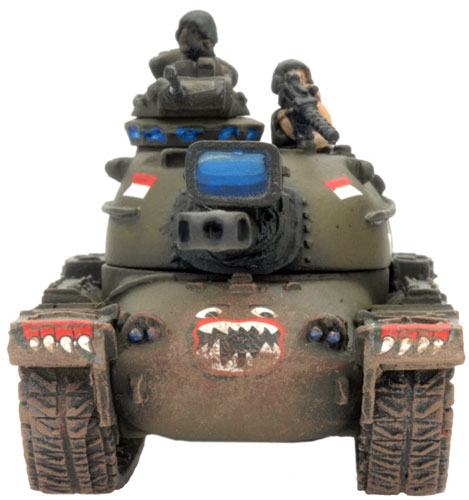
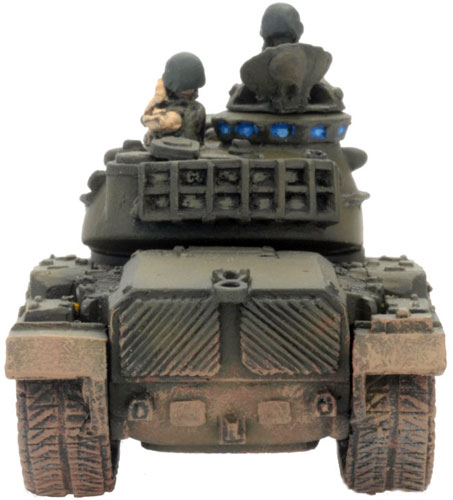
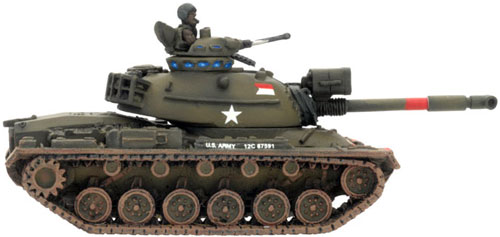
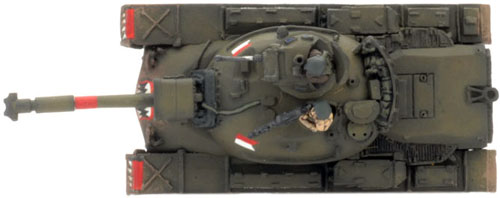
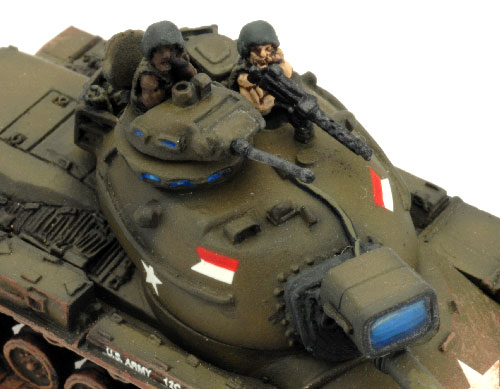
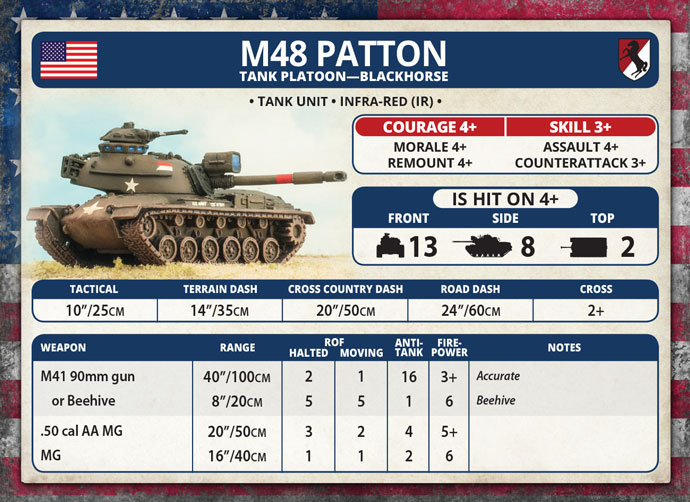
| M48 Patton (x1) |
 |
 |
 |
 |
 |
 |
 |
 |
 |
 |
|
|
| Black Horse Armored Cavalry Troop Box Contents |
| Contact the customer service team at [email protected] if you have issues with any components. |
| M113 Sprue (x7) |
") |
| M551 Sheridan Tanks (x3) |
") |
| M48 Patton Tank (x1) |
") |
|
|
|
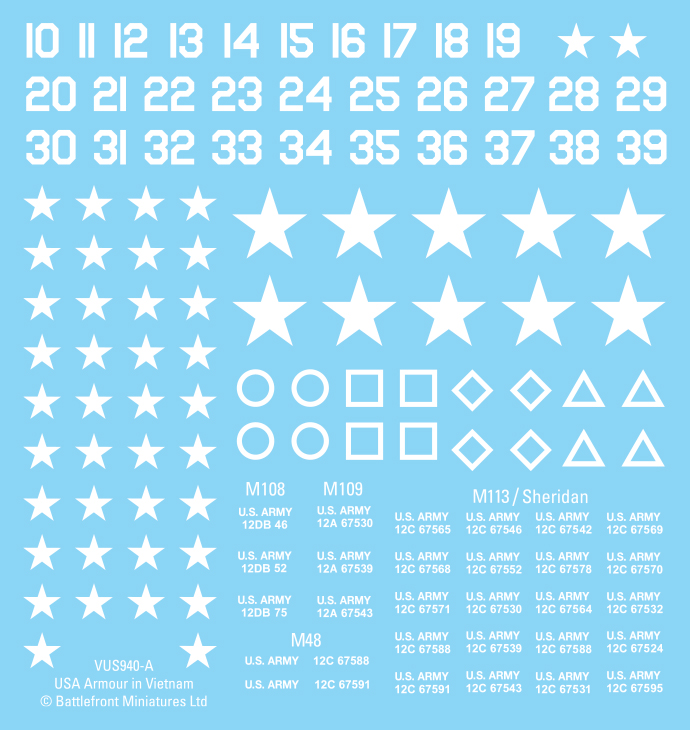
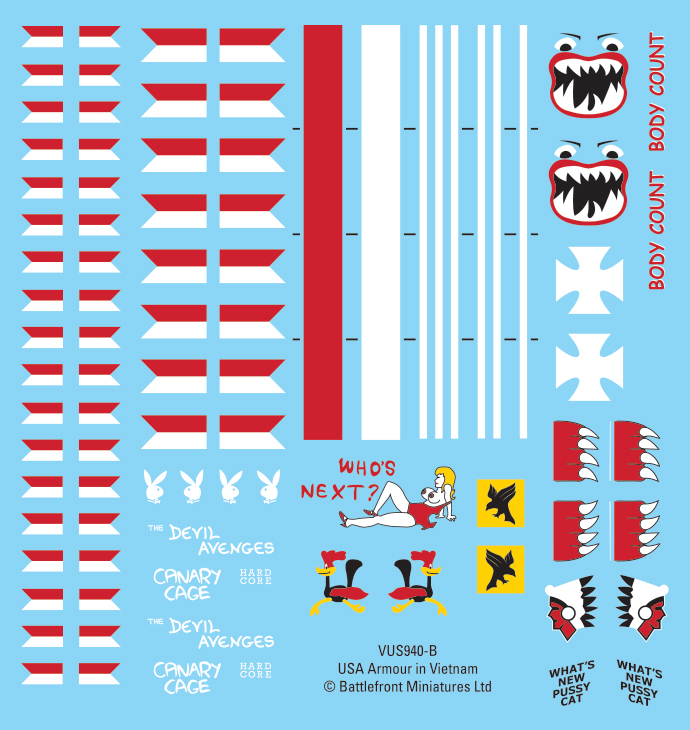
| Decal Sheets | |
 |
 |
|
|
|
| The Black Horse Armored Cavalry Troop In ‘Nam | |
 |
 |
 |
|
|
|
| Assembling Black Horse Armored Cavalry Troop |
|
Assembling the M113 |
Assembling the M48 Patton |
|
|
|
Assembling the M551 Sheridan |
|