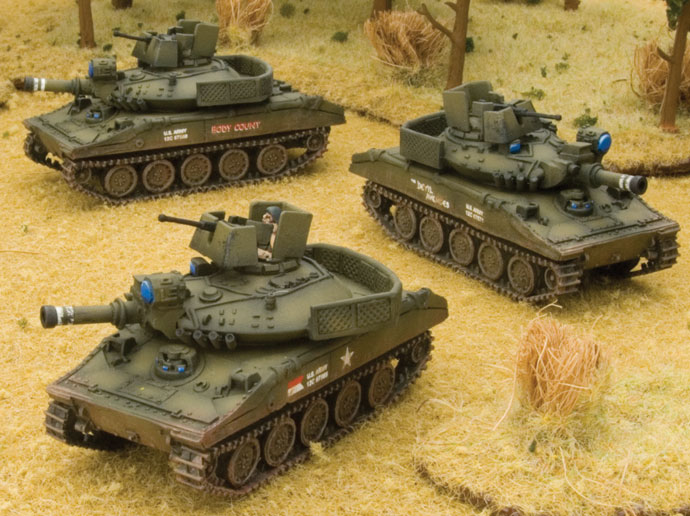
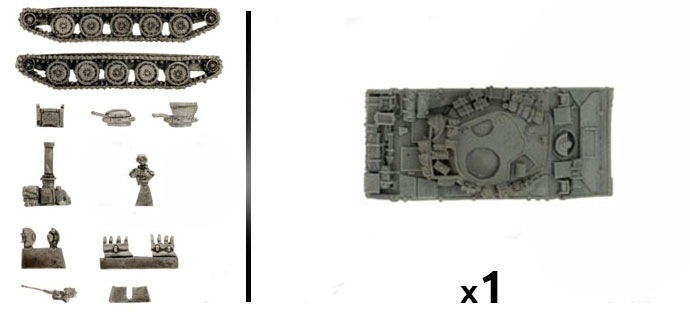
| Step 1. Begin assembly by attaching the tracks to the hull of the M551 Sheridan.
Note: Each track has been keyed to correspond with a particular side of the hull; this aids in ensuring the correct orientation of the tracks when assembling the miniature. |
||
| Below: The correct alignment for the left-hand side track. | Below: The correct alignment for the right-hand side track. | Below: The left-hand side track attached to the hull. |
 |
 |
 |
| Tip: When referring to left or right-hand side in regards to a Flames Of War miniature, the orientation is determined as if looking at the vehicle from the rear. | ||
| Below: The right-hand side track attached to the hull. | Step 2. Attach the driver’s vision hatch to the front of the M551 Sheridan. | Below: The driver’s hatch vision correctly attached to the front of the M551 Sheridan. |
 |
 |
 |
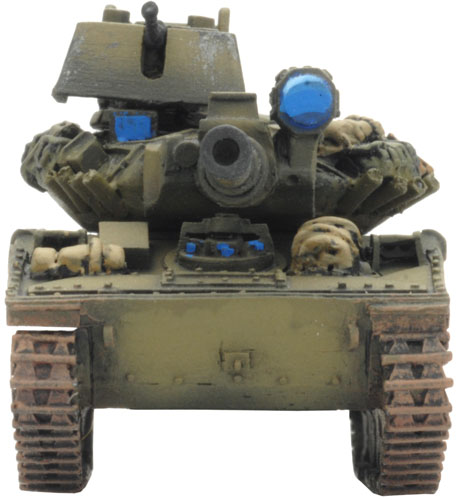
| Step 3. Next, attach the M81 152mm gun to the front of the turret. | Below: The M81 152mm gun correctly attached to the front of the M551 Sheridan turret. | Step 4. The smoke dischargers attached to the underside of the M551 Sheridan turret. Each side has been keyed to corresponding part. The right-hand side can be seen below. |
 |
 |
 |
| Below: The left-hand side smoke discharger recess. | Below: The corresponding left and right-hand side smoke dischargers keyed to match the turret. |
 |
 |
| Below: The smoke dischargers correctly attached to the M551 Sheridan turret. | Step 5. Next, attach the loader’s hatch to the top of the turret. | Below: The loader’s hatch attached to the top of the turret. |
 |
 |
 |
| Step 6. Time to begin assemble of the commander’s hatch. Begin by attaching the .50 cal MG to the mount located at the front of the hatch. See the examples below. | Step 7. Next, attach the gun shield to the front of the .50 cal MG. | |
 |
 |
 |
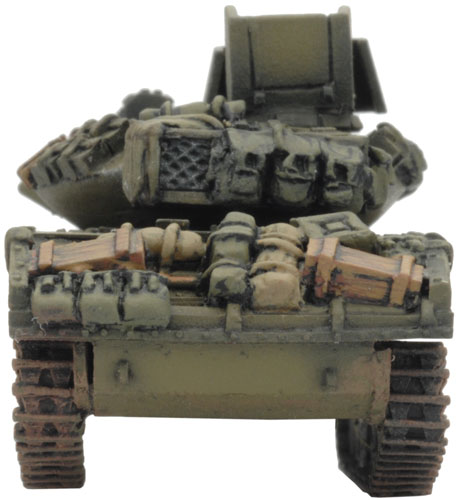
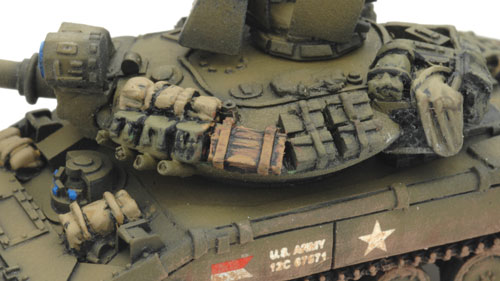
| Below: The gun shield attached to the .50 cal MG. | Step 8. Finally, attach the bird-cage armour to the rear of the commander’s hatch. | Below: The fully-assembled commander’s hatch complete with bird-cage armour. |
 |
 |
 |
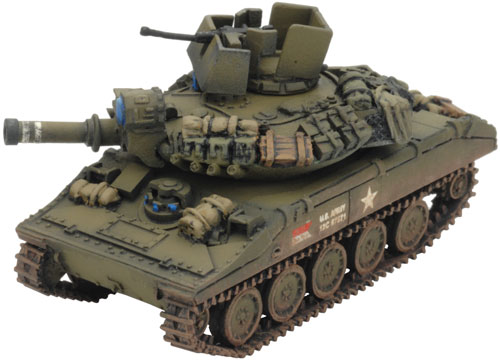
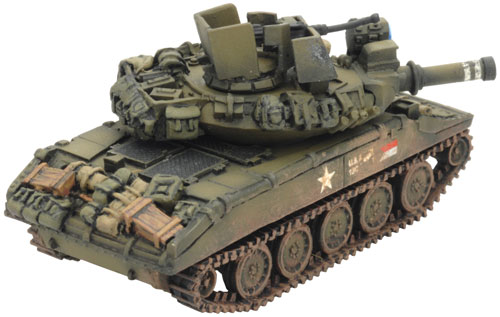
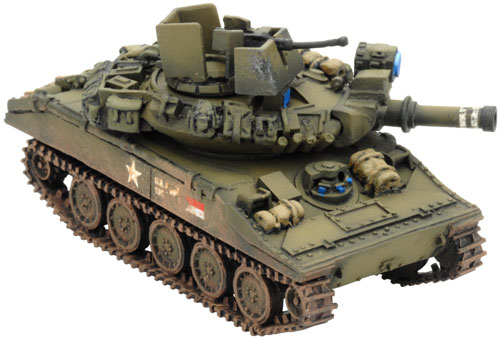
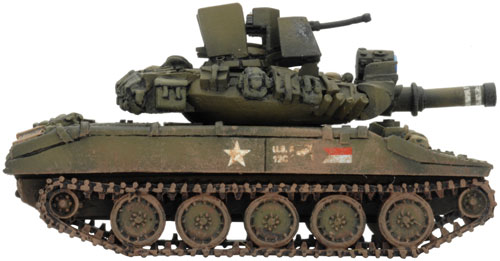
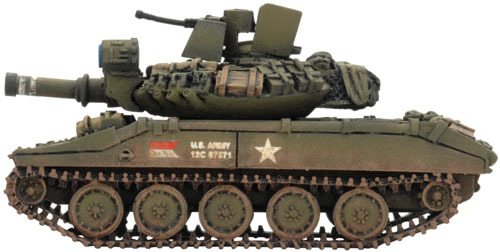
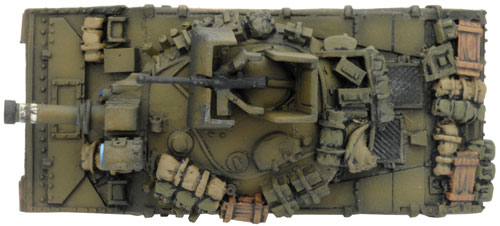
| Step 9. Next, attach the fully-assembled commander’s hatch to the top of the M551 Sheridan turret. | Below: With the commander’s turret in place, the M551 Sheridan is ready for the painting table. | |
 |
 |
 |
| Adding A Vehicle Commander |
| Step 1. To add a vehicle commander, use the open commander’s hatch rather than the closed commander’s hatch. | Step 2. Assemble the commander’s hatch as seen in the steps above. | Step 3. Attach a vehicle commander figure to the inside of the open hatch. |
 |
 |
 |
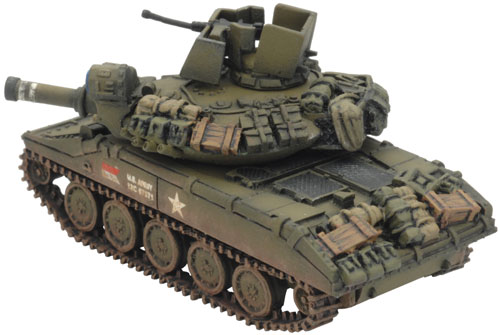
| Step 4. Next, attach the fully-assembled commander’s hatch complete with vehicle commander to the top of the M551 Sheridan turret. | Below: With the commander’s turret in place complete with vehicle commander; the M551 Sheridan is ready for the painting table. | |
 |
 |
 |
| US Vehicle Painting Guide |
 |