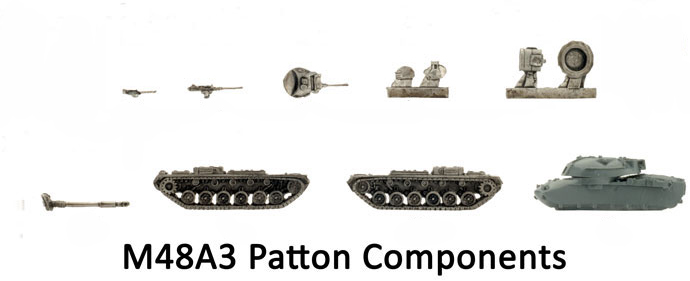
| Step 1. Begin assembly with the tracks.
Tip: Each track is stamped with the letter ‘R’ or ‘L’ and an arrow to indicate correct orientation. |
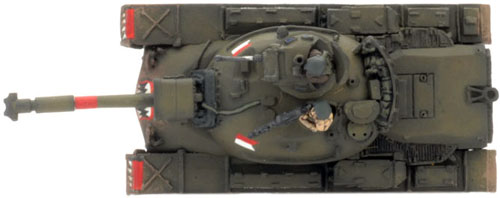
Below: The correct alignment for the left-hand and right-hand side tracks. Tip: When referring to left or right-hand side in regards to a Flames Of War miniature, the orientation is determined as if looking at the vehicle from the rear. |
|
 |
 |
 |
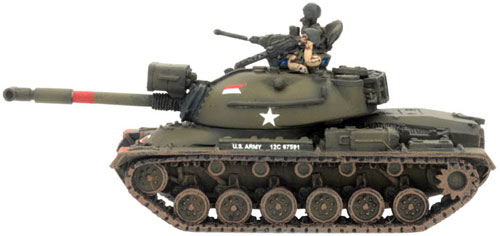
| Below: The left-hand side track attached to the hull. | Below: The right-hand side track attached to the hull. | Step 2. Attach the main gun to the front of the turret. |
 |
 |
 |
| Below: The main gun attached to the turret. | Step 3. Next, attach the infrared searchlight to the top of the main gun.
Tip: There is a contoured section on the base of the searchlight that attached to the top of the gun. |
||
 |
 |
 |
 |
| Step 4. Attach the loader’s hatch to the top of the turret. | Step 5. Next, add the cupola MG to the top of the turret. | |
 |
 |
 |
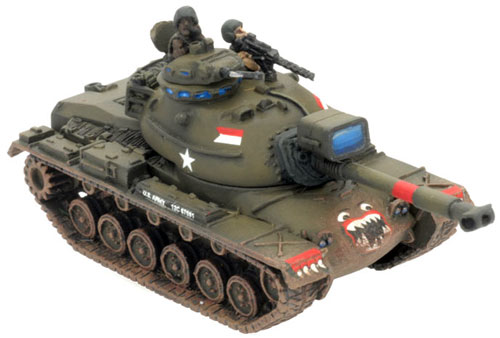
| Below: The cupola MG in place. | Step 6. Attach the hatch to the rear of the cupola MG. | Note: Later versions of the M48A3 added a ring of version blocks below the cupola MG. | |
 |
 |
 |
 |
| Below: The ring of vision blocks attached below the cupola MG. | Tip: A loader’s hatch MG can be added to the M48A3 at a small points cost. | |
 |
 |
 |
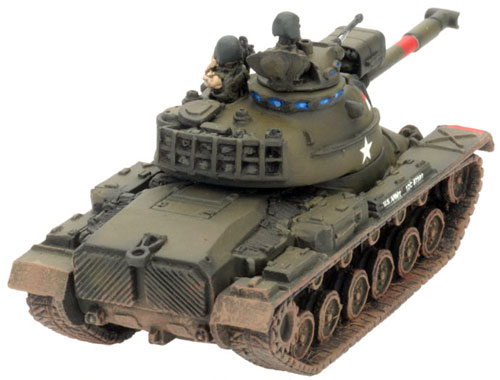
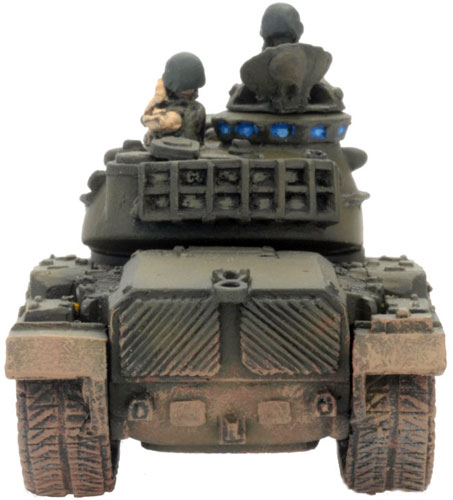
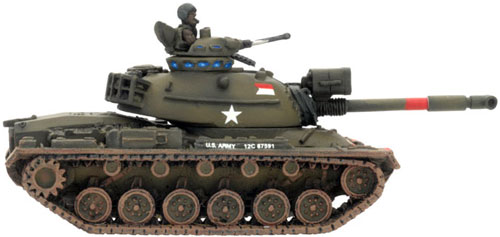
| Below: The .30 cal MG attached to the top of the turret for +5 per tank. | Below: The .50 cal AA MG attached to the top turret for +10 points per tank. | Below: With the .50 cal AA MG in place, the M48A3 is ready for painting. |
 |
 |
 |
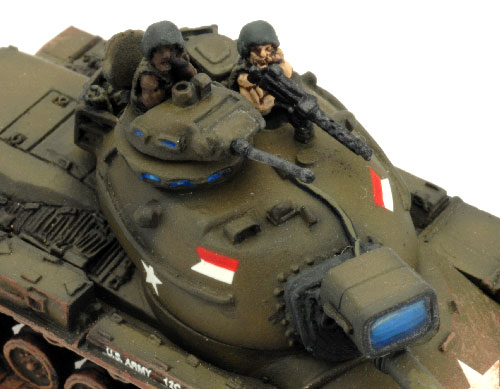
| Adding Tank Commanders | ||
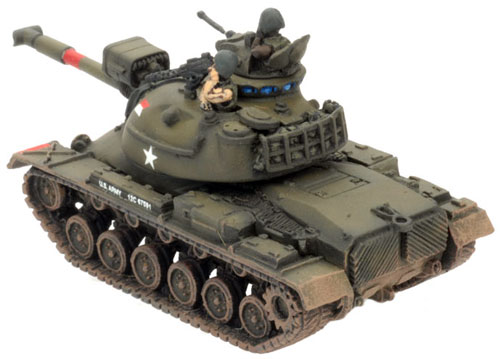
| Step 1. Attach the hatch at the rear of the cupola MG in an open position. | Step 2. Add the tank commander figure of choice inside the open hatch. | Step 3. Repeat the process if you wish to add a commander figure in the loader’s hatch. |
 |
 |
 |
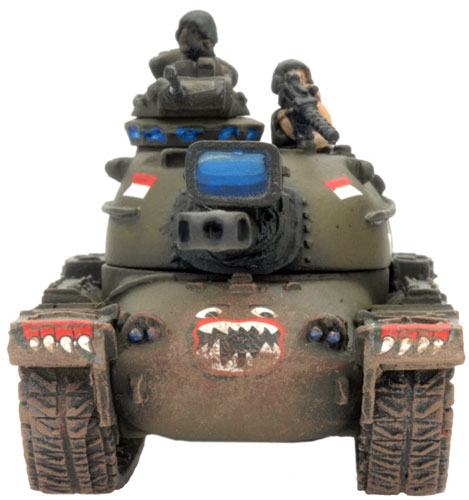
| Below: The commander figure attached to the inside of the open hatch. | Below: With the tank commander’s in place, the M48A3 is ready to hit the painting table. |
 |
 |


")
")
")
")
")
")
")
")
")
")
")
")
")
")
")
")
")
")
")
")
")
")
")
")
")
")
")
")
")
")
")
")
")
")
")
")
")
")
")
")
")
")
")
")
")
")
")
")
")
")
")
")
")
")
")
")
")
")
")
")
")
")