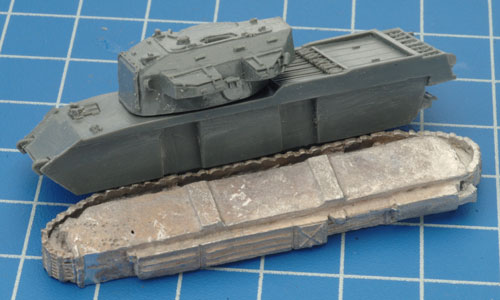
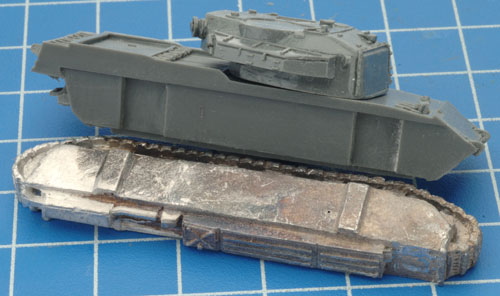
| Step 1. Begin assembly by attaching the tracks to the hull of the Centurion.
Note: Each track has been keyed to correspond with a particular side of the hull; this aids in ensuring the correct orientation of the tracks when assembling the miniature. |
| Below: The correct alignment for the left-hand side track. | Below: The correct alignment for the right-hand side track. | Below: The left-hand side track attached to the hull. |
 |
 |
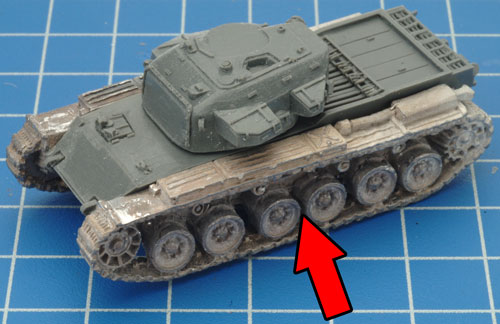 |
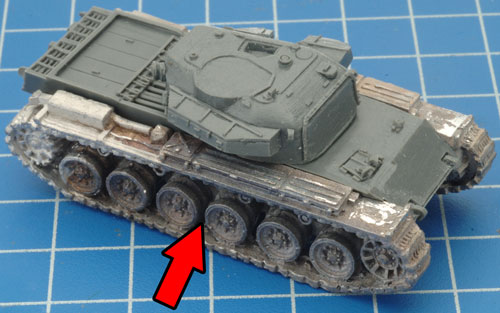
| Tip: When referring to left or right-hand side in regards to a Flames Of War miniature, the orientation is determined as if looking at the vehicle from the rear. | ||
| Below: The right-hand side track attached to the hull. | Step 2. Next, attach the front mudguard to the front of each track. | Below: The left-hand side front mudguard attached to the track. |
 |
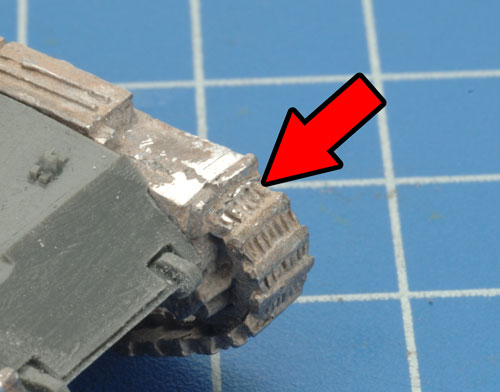 |
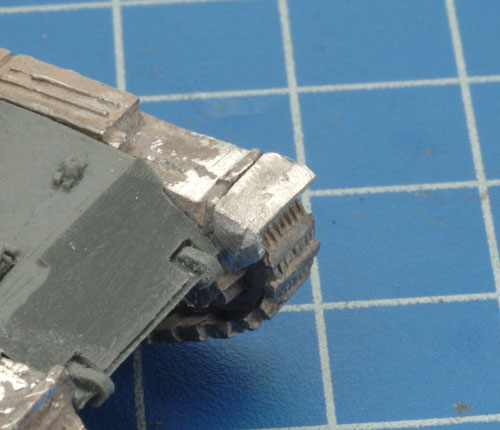 |
| Below: The right-hand side front mudguard attached to the track. | Below: Both front mudguards successfully attached to the tracks. | Step 3. Next, attach the rear mudguards. |
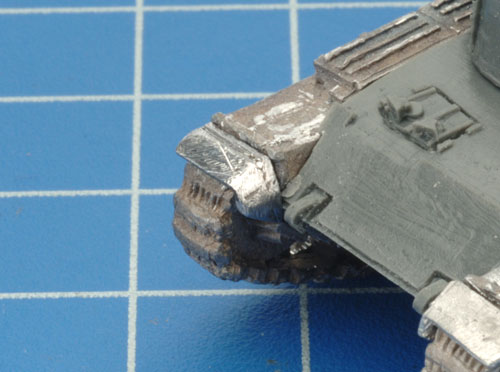 |
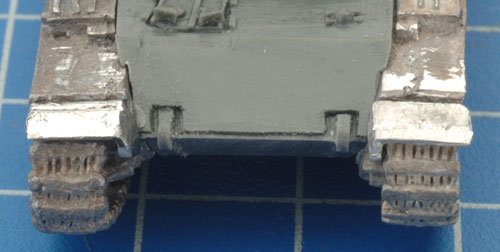 |
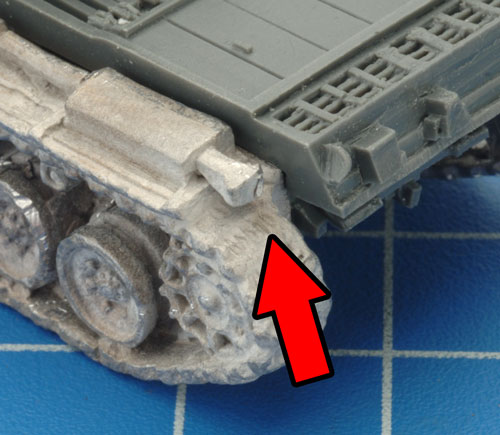 |
| Note: The left-hand side rear muguards has a small cylinder on it. | Below: The right-hand side rear mudguard has a plane surface. See the examples below. | |
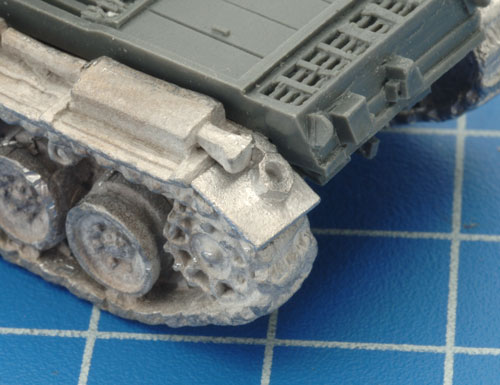 |
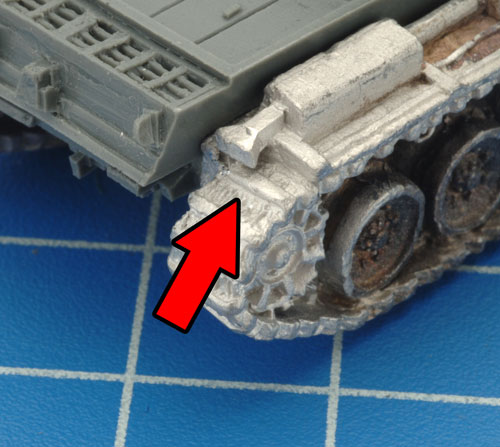 |
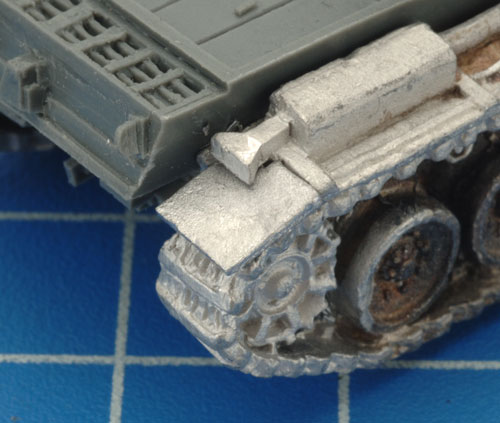 |
| Below: Both rear mudguards successfully attached to the tracks. | Step 4. Next, attach the additional fuel tank to the rear of the hull. | |
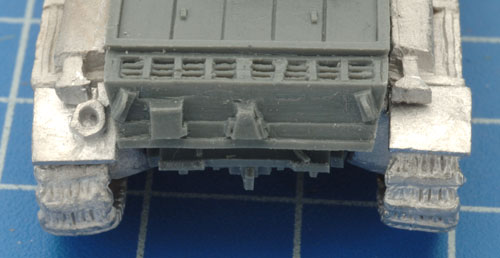 |
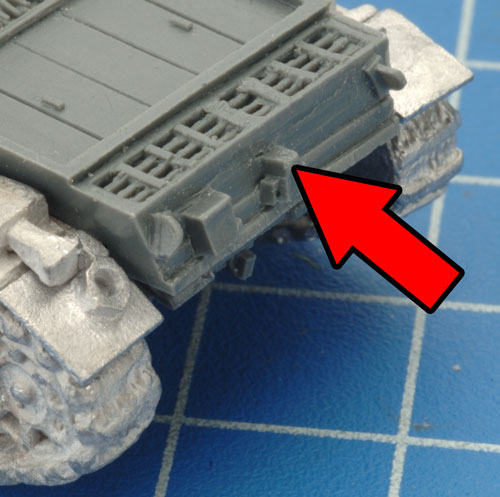 |
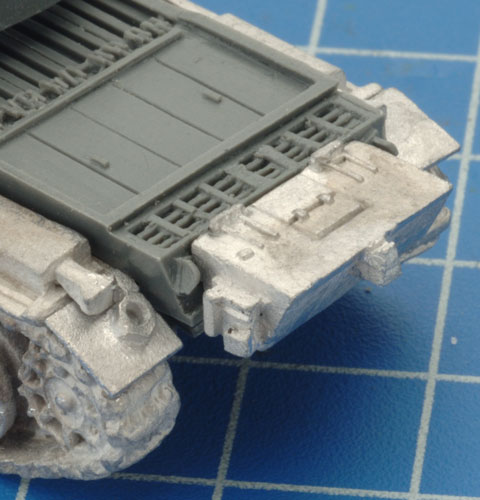 |
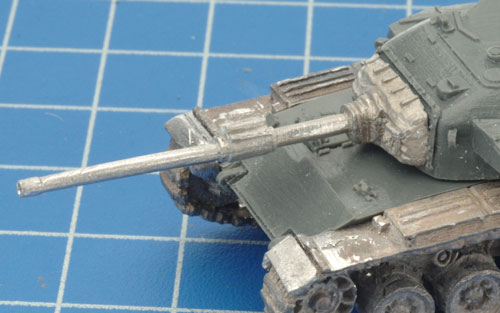
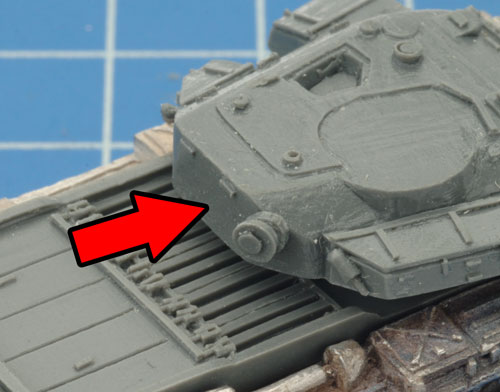
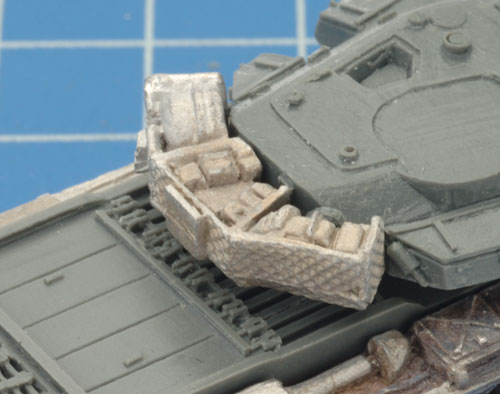
| Step 5. Attach the main gun to the front of the turret. | Step 6. Next, attach the turret stowage rack to the rear of the turret. | ||
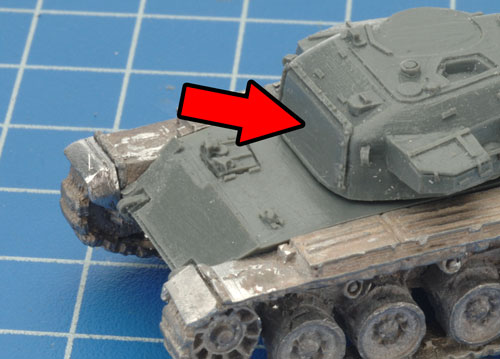 |
 |
 |
 |
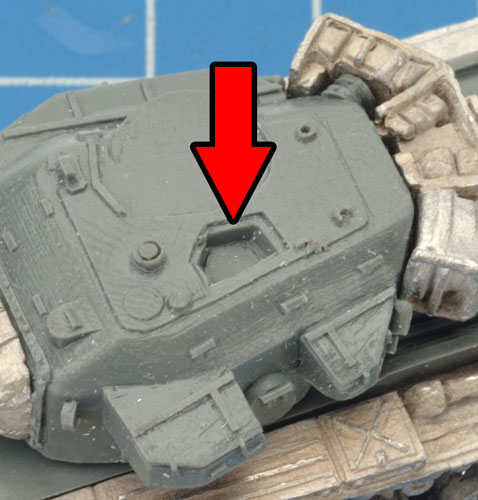
| Step 7. Attach the loader’s hatch to the top of the turret. | Step 8. Attach the commander’s cupola to the top of the turret. | ||
 |
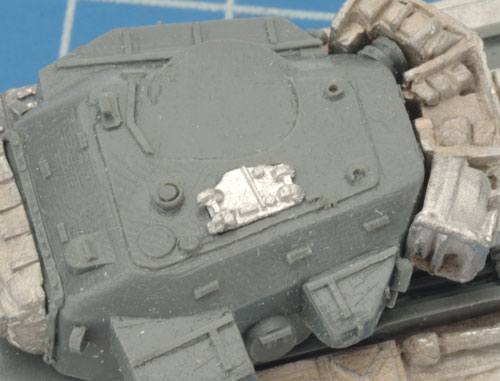 |
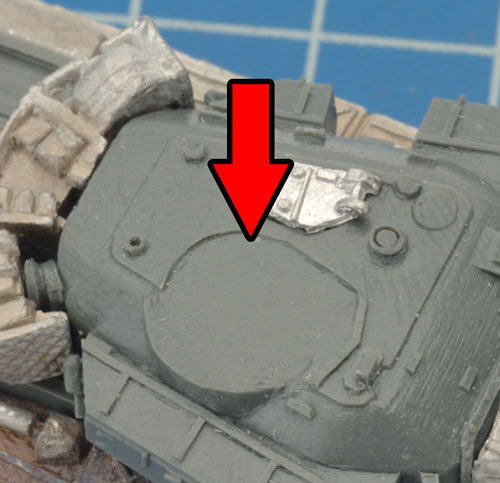 |
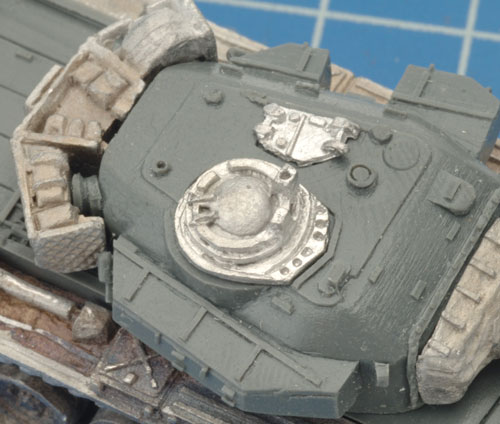 |
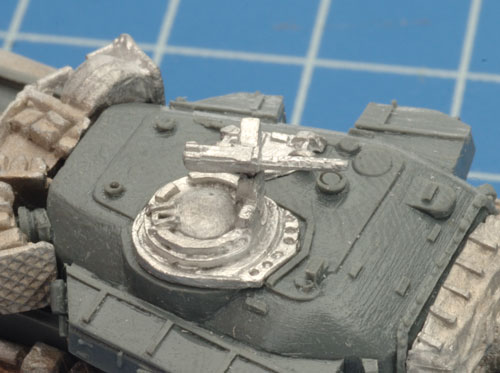
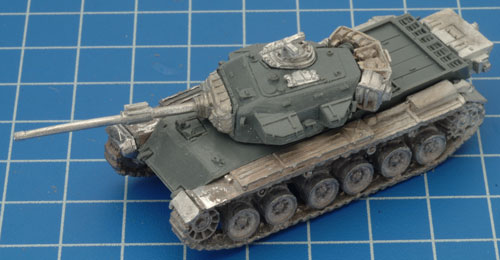
| Step 9. Attach the .30 cal AA MG to the mount on the cupola. | Below: The fully-assembled Centurion ready for the painting table. | |
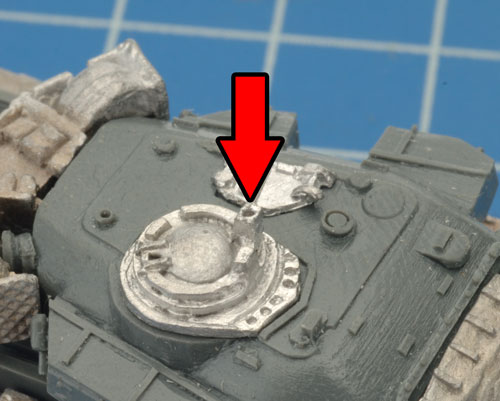 |
 |
 |
| Adding A Tank Commander | |||
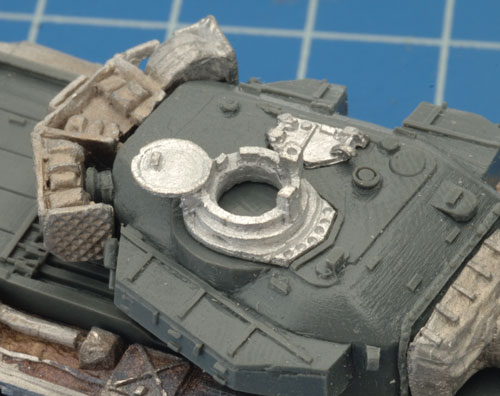
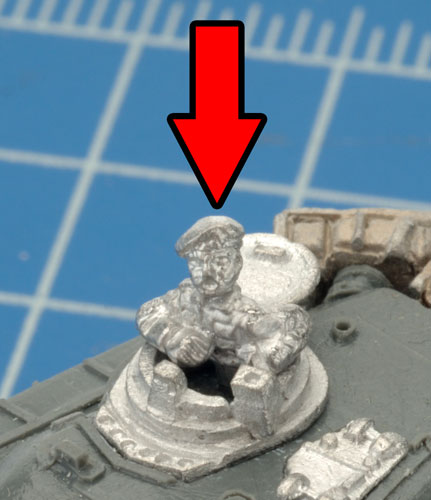
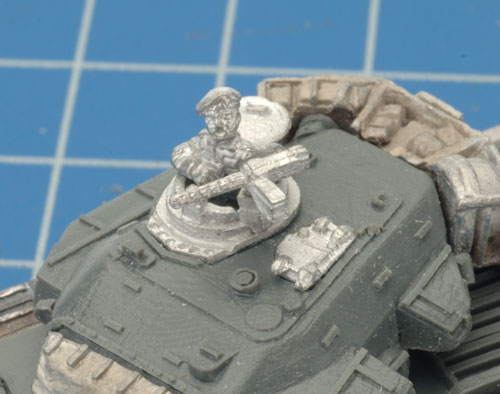
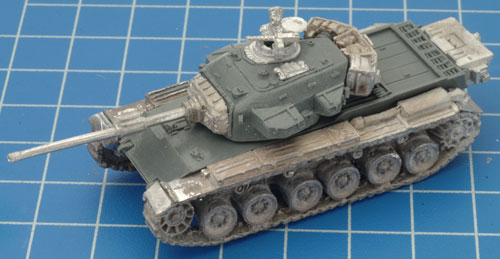
| Step 1. Replaced the closed commander’s cupola with the open cupola. | Step 2. Add a tank commander figure to the open cupola. | Tip: The .30 cal AA MG will need to be attached on a slightly different angle with a tank commander. | Below: The fully-assembled Centurion Mark 5 complete with tank commander. |
 |
 |
 |
 |
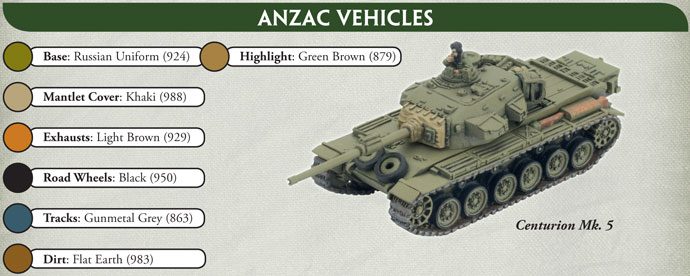
| ANZAC Vehicle Painting Guide |
 |
